trail camera instructions
Choosing the Right Trail Camera
Choosing a trail camera involves evaluating sensor quality, night vision, and field of view. Consider trigger speed, memory capacity, and battery life. Opt for models with adjustable motion zones and durable housings to withstand weather. Balance cost with features for reliable wildlife monitoring.
Key Features to Consider
When selecting a trail camera, the first consideration is the sensor. A CMOS sensor with 12–16 MP delivers crisp daylight images, while a 1‑inch sensor excels in low‑light conditions. Night‑vision capability—LEDs or imaging—determines how well nocturnal wildlife is captured. Trigger speed is vital; a 0.3‑second response time ensures fast and animals are recorded without motion and blur in the field.
Memory capacity and card format are next. SD or SDHC cards up to 128 GB can hold thousands of photos, but the camera’s write speed must match the frame rate to avoid data loss.
Field‑of‑view and angle influence coverage. A 120° horizontal view is standard, but a 140° angle can widen the area at the cost of edge distortion. Adjustable motion‑detection zones let you target specific trails and reduce false triggers from wind or foliage. Advanced AI species detection can automatically tag photos by animal type, saving daily time during review.
Durability and weatherproofing are non‑negotiable. Look for an IP66 or higher rating, and a rugged housing that withstands rain, dust, and temperature extremes from –40 °F to 140 °F. Some cameras include GPS for location tagging and a built‑in alarm or motion sensor to deter theft. Connectivity options—Wi‑Fi, Bluetooth, or 4G LTE—enable remote monitoring and instant alerts, useful for long‑term studies or commercial wildlife tracking.
Finally, evaluate the user interface and companion software. Intuitive menus, easy SD card removal, and a reliable mobile app or desktop program for image organization streamline the workflow. A well‑documented user manual and responsive customer support can save time when troubleshooting.
Budget and Value Comparison
When balancing cost and performance, start by segmenting cameras into three tiers: entry‑level, mid‑range, and premium. Entry‑level units, priced between $70 and $120, typically feature 8‑10 MP sensors, basic night vision, and a 120° field of view. They are ideal for hobbyists or short‑term projects, but may lack advanced motion‑zone customization and AI species detection. Mid‑range models, ranging from $150 to $250, offer 12‑15 MP sensors, faster trigger speeds (0.3–0.5 s), and optional LED or imaging night vision. They often include adjustable motion zones, 4‑G connectivity, and larger SD card slots (up to 128 GB). These cameras provide a solid balance for researchers and commercial users who need reliable data without a high upfront investment. Premium units, above $300, bring the latest sensor technology, 1‑inch imaging sensors, and dual‑band Wi‑Fi or LTE modules for real‑time alerts. They also feature rugged, weather‑proof housings rated IP66 or higher, and advanced AI that can differentiate between species, reducing false triggers. When evaluating value, consider the total cost of ownership: battery replacement, memory cards, and potential firmware upgrades. A mid‑range camera that supports rechargeable Li‑ion packs and offers a 3‑year warranty can outperform a cheaper model that requires disposable batteries and has limited support. Additionally, look for bundle deals that include spare parts or extended warranties, as these can significantly lower long‑term expenses. Ultimately, the best value comes from matching the camera’s feature set to the specific monitoring goals, ensuring that every dollar spent translates into actionable wildlife data. Worth it. Yes!!
Camera Warranty and Support
Choosing a camera with a robust warranty and responsive support can save time and money when field conditions fail. Most reputable manufacturers offer a 1‑ to 3‑year limited warranty covering defects in materials and workmanship. A 2‑year warranty is common for mid‑range models, while premium units often provide 3‑ or 5‑year coverage, sometimes with a “no‑repair‑no‑refund” clause that guarantees a replacement instead of a repair. When reviewing warranty terms, pay attention to the scope: does it cover battery failures, memory card corruption, or sensor malfunctions? Some brands include a “free on‑site service” for cameras that fail in remote locations, which can be invaluable for large‑scale monitoring projects. Support channels vary; many companies offer 24/7 phone support, live chat, and an extensive online knowledge base with firmware updates, troubleshooting guides, and video tutorials. A dedicated support portal that allows you to submit tickets and track resolution status is a sign of a customer‑centric approach. In addition, check whether the manufacturer provides a “software‑as‑a‑service” subscription that keeps your camera’s firmware up to date automatically. This can prevent compatibility issues with newer operating systems or companion apps. For field deployments, consider a warranty that includes a “replacement‑in‑time” guarantee: if a camera fails during a critical season, the company will ship a spare unit within 48 hours. This reduces downtime and ensures continuous data collection. Many manufacturers offer a complimentary 30‑day return policy, allowing you to test the camera in situ before committing to a long‑term purchase. A comprehensive warranty that extends to all components—including the housing, power supply, and memory card—provides the most protection. Additionally, many companies provide a mobile app that lets users monitor camera health, receive push notifications for failures, and schedule maintenance reminders, ensuring awareness during deployments. In summary, a strong warranty coupled with proactive, multi‑channel support is essential for ensuring that your trail camera remains operational and reliable in the field.
Preparing the Camera for the Field
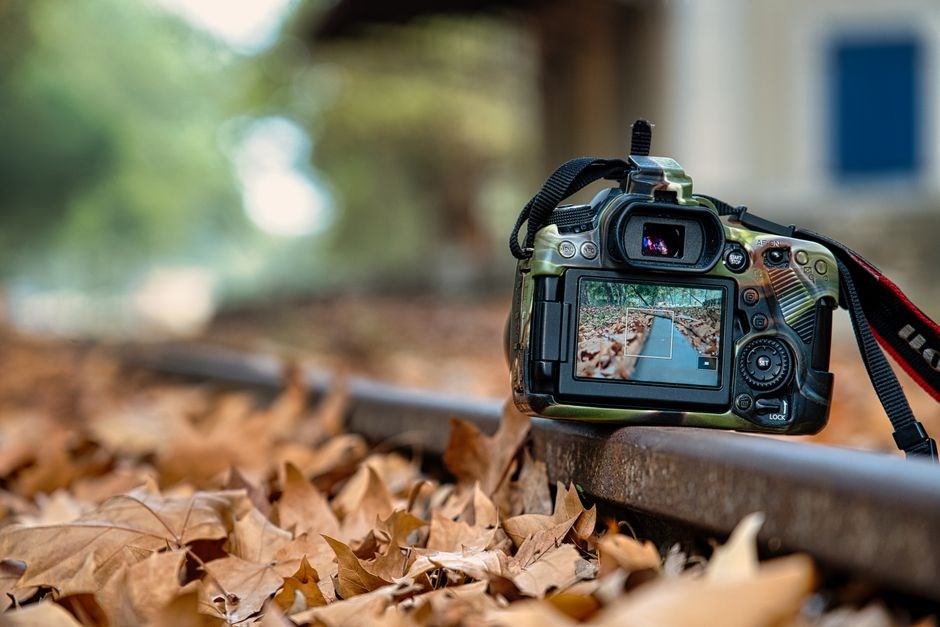
Before deployment, insert fresh batteries and format the SD card. Set the date/time, enable power‑saving mode, and test the motion sensor. Secure the camera with a lockable mount, and verify the lens is clean. Store the unit in a dry case until ready. Keep the camera shaded to avoid overheating.!!
Installing Batteries and Memory Cards
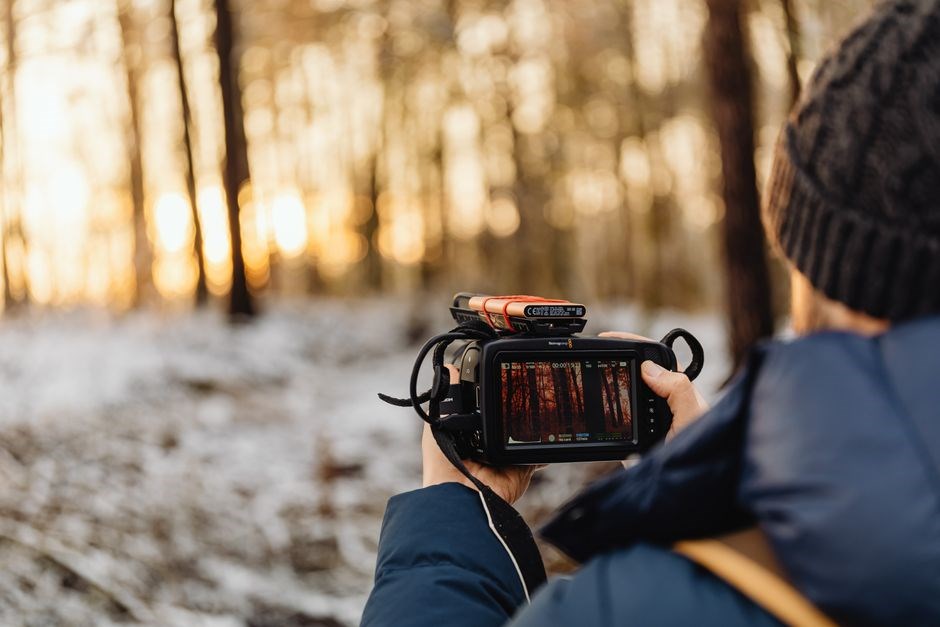
Proper battery and memory card installation is essential for reliable trail camera operation. Begin by selecting the correct battery type—most modern units use either rechargeable Li‑ion packs or standard alkaline cells. Remove the camera’s battery cover with a flat‑head screwdriver or pry tool, depending on the model. Insert the batteries with the positive (+) side facing the designated indicator, ensuring a snug fit to avoid loose connections. For rechargeable packs, charge fully before deployment to guarantee maximum runtime.
Next, prepare the memory card. Use a high‑speed SD, SDHC, or SDXC card rated UHS‑I or higher, and format it in the camera’s menu to erase residual data. Insert the card into the slot, aligning the gold contacts with the card’s connectors. A properly seated card should click into place; if it does not, check for debris or damage. Some cameras support dual‑card slots; in that case, set one as primary and the other as backup in the settings.
After installation, verify the camera’s power indicator lights. A steady green or amber light typically signals correct battery placement, while a blinking pattern may indicate a low charge or a need to reset the device. Test the camera’s motion sensor by walking past it; the indicator should flash upon detection. If the camera fails to respond, double‑check battery orientation and card seating. Finally, label the battery pack and memory card with a waterproof marker for easy identification during field retrieval.Check battery.
Mounting and Positioning Techniques
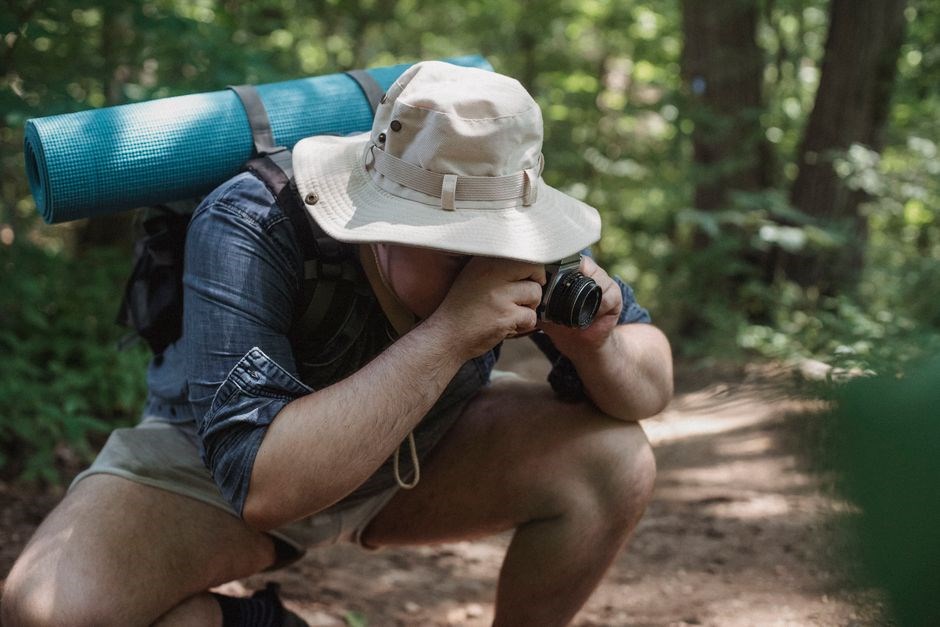
Mount the camera at eye level of target species, using sturdy tripods or tree mounts. Secure with adjustable straps to prevent sway. Position the lens toward the expected path, avoiding obstructions. Use camouflage paint or coverings to blend with surroundings, reducing detection risk. for best.now
Optimal Height and Angle for Wildlife Capture
When setting a trail camera, the height and angle directly affect. For most mammals, a height of 4–6 ft (1.2–1.8 m) above ground captures their full body while keeping the lens within their. This range balances visibility and reduces the chance of the camera being seen or knocked over. For rabbits or deer fawns, lower angles around 2–3 ft (0.6–0.9 m) are preferable, as they keep the camera within the animal’s sight cone and increase the likelihood of clear frontal shots.
The lens angle is critical. A 45‑degree downward tilt aligns the camera’s view with the animal’s path, reducing distortion and filling the frame. Too steep and the animal looks small or is cropped; too shallow and it may be partially out of frame. Adjust the tilt in 5‑degree steps to match terrain and vegetation density for best results. Mount on a tripod or pole, ensuring the lens is level. Observe wildlife set the angle for movement. Fine‑tune the tilt after a days of testing.
Environmental factors also dictate adjustments. In dense brush, a slightly higher angle helps the camera “see over” foliage; in open grassland a lower angle may suffice. Wind and vibration can affect stability; using a tripod or weighted base mitigates these effects. Finally, always test the camera by walking the trail and reviewing sample shots to confirm that the height and angle capture the desired subjects with clarity and minimal distortion. Use a timer to take periodic photos. Enjoy!!!
Securing the Camera to Avoid Theft or Damage
Place the camera on a sturdy tripod or a weighted base to reduce movement from wind or wildlife. Attach a lockable cage or a custom housing that allows the lens to remain exposed while protecting the electronics. Use a high‑strength cable tie or a quick‑release clamp to secure the camera to a tree or pole, ensuring the tie is tight but not crushing the device. For added security, consider a GPS tracker or an alarm system that triggers when the camera is moved. Position the camera in a location that is less visible to poachers, such as behind dense vegetation or near natural cover. Avoid mounting on exposed branches or in open fields where it can be easily spotted. Regularly inspect the mounting point for signs of tampering or wear, and replace any damaged components immediately. If you are in a high‑risk area, use a camera with a built‑in motion sensor that can trigger a loud alarm or a flashing light to deter intruders. Finally, keep a log of the camera’s location and any maintenance performed, so you can quickly identify and respond to any theft or damage.
Additionally, consider installing a small, discreet alarm or motion sensor that emits a high‑frequency chirp when the camera is tampered with. Such a sound is often inaudible to humans but can deter curious animals or people. For extra protection, place the camera in a shallow pit lined with rocks or mulch, then cover the top with a weighted tarp to conceal it from view. Make sure the tarp is secured with a zip tie to prevent it from blowing away. Finally, keep a spare battery pack and memory card on hand so you can quickly replace any lost or damaged components without delay. While still capturing high‑quality wildlife footage, these measures help reduce theft risk.!
Configuring Camera Settings for Optimal Performance
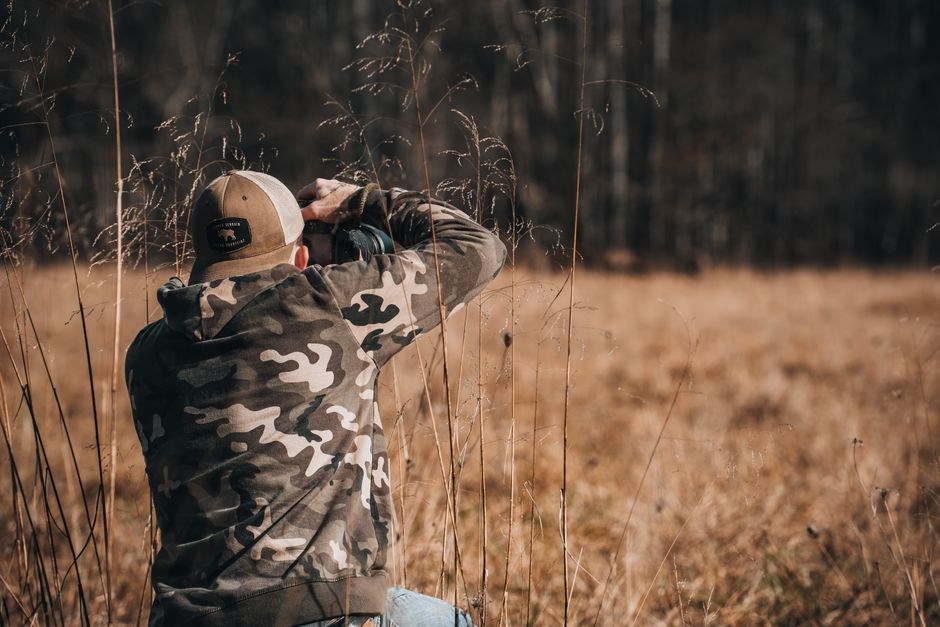
Set the trigger speed to 0.5‑1.0 s for reactions. Choose 1080p or 4K for clarity, balance with storage. Enable night‑vision. Adjust motion‑detection zones to focus on likely paths, and calibrate sensitivity to avoid false triggers. Use a 30‑second burst mode for rapid events in the field.
Trigger Speed and Video Resolution Settings
When configuring a trail camera, trigger speed and video resolution are pivotal for capturing sharp, timely wildlife footage. A fast trigger—typically 0.5 seconds or less—ensures the camera reacts before an animal passes. Slower triggers (1‑2 seconds) reduce false alarms from wind or foliage. Many units allow fine‑tuning via the menu or companion app, balancing speed against battery life and storage.
Video resolution directly impacts image quality and file size. Standard 1080p (Full HD) offers a good compromise: clear enough for species identification while keeping file sizes manageable for most memory cards. For researchers needing finer detail—such as distinguishing individual markings or small prey—4K (3840×2160) provides superior clarity, though it consumes more memory and battery life. Some cameras support 720p, which is useful for long‑term monitoring where storage is limited, but it may sacrifice detail in low‑light conditions. for long-term use!?
Choosing the right combination depends on your objectives. If you’re monitoring large predators or tracking movement patterns, a 0.5‑second trigger with 1080p video is often sufficient. For studies requiring high‑resolution imagery—like forensic analysis of bite marks or detailed behavioral observation—opt for 4K with a 1‑second trigger to conserve power. Always test settings in the field, reviewing sample footage to confirm that trigger speed captures the action and that resolution meets your identification needs.
Motion Detection Zones and Sensitivity
Setting up motion detection zones allows you to focus the camera’s attention on the most relevant areas of the field of view, reducing false triggers caused by wind, foliage, or passing vehicles. Most modern trail cameras offer a grid overlay in the menu, letting you select one or multiple zones that will activate the sensor. By limiting the active zones to the lower third of the frame—where animals typically cross— you can extend battery life and storage capacity.
High sensitivity settings capture even subtle motion, which is useful for small mammals or insects, but it also increases the chance of false positives. Lower sensitivity reduces false triggers and conserves power, yet may miss fast‑moving prey. Many cameras provide a “smart” sensitivity mode that automatically adjusts based on ambient light or recent activity, striking a balance between responsiveness and efficiency. Adjusting settings is a process that rewards daily patience.
When configuring zones and sensitivity, start with a moderate setting and conduct a short test period. Review the captured footage to determine if the camera is missing key moments or generating excessive false shots. Adjust the grid to exclude areas with frequent non‑target movement—such as a stream, or a windy patch—and fine‑tune sensitivity until you achieve a reliable capture rate that aligns with your monitoring goals. This approach ensures each trigger counts, maximizing data quality while minimizing waste!!
Managing and Reviewing Captured Data
Transfer images via USB or card reader, then sort by date. Use tagging software to label species and behaviors. Batch rename files for consistency. Back up to an external drive or cloud service nightly to safeguard against loss. Quick thumbnail review now
Transferring Images and Videos to a Computer
Begin by removing the SD card from the camera and inserting it into a card reader or directly into your computer’s built‑in slot. If your computer lacks a reader, use a USB adapter that supports the card’s format (typically SDHC or SDXC). Once recognized, open the file explorer and locate the camera’s folder, usually named “DCIM” or “CAMERA”. Copy all files to a dedicated folder on your hard drive, naming it with the date and camera location for easy reference. For large video files, consider using a dedicated external drive to avoid filling your system drive. After copying, safely eject the card to prevent corruption. Verify integrity by opening a sample image or video; if playback fails, re‑copy the file. Finally, back up the entire folder to a cloud service or another external drive to protect against data loss. This process ensures your wildlife footage is safely stored and ready for analysis.
When organizing files, create a folder hierarchy that reflects date, location, and camera model. For example, “2026‑08‑06‑North‑Trail‑ModelX”. Within each, separate “Images” and “Videos” folders. Rename files with a timestamp (YYYYMMDD_HHMMSS) to avoid overwriting and to aid chronological sorting. After transfer, run a quick integrity check: open a random sample from each folder. If any file fails to open, re‑copy it immediately. Finally, consider using a RAID‑configured external drive or a cloud backup service to provide redundancy against hardware failure or accidental deletion. Use cloud now.
Using Companion Software and Apps
Most trail‑camera manufacturers ship dedicated desktop utilities that automatically import, tag, and organize media. After inserting the SD card, launch the program and let it scan for new files. The interface typically displays thumbnails, timestamps, and a species‑detection overlay if the camera supports AI. Drag‑and‑drop or use the “Import All” button to copy images to a project folder. Many tools allow you to create custom albums, add GPS coordinates, and annotate sightings directly within the software. For mobile users, companion apps (iOS and Android) provide a lightweight viewer and basic editing tools. They sync via Wi‑Fi or Bluetooth, enabling quick sharing on social media or with research partners. Some apps also support bulk renaming, batch deletion, and automatic backup to cloud services such as Google Drive or Dropbox. When working with large video files, consider using a video‑editing suite that can handle high‑resolution footage; some camera vendors offer free trial versions of their editors. Always keep the software updated to benefit from bug fixes and new feature releases, especially those that improve AI species‑recognition accuracy or add new motion‑zone presets. Finally, export your curated media in standard formats (JPEG, MP4) and maintain a backup copy on an external drive to safeguard against data loss. Many users adopt a systematic naming scheme, embedding date, camera ID, and location into file names to simplify later sorting and retrieval. Method saves hours of manual work daily !!